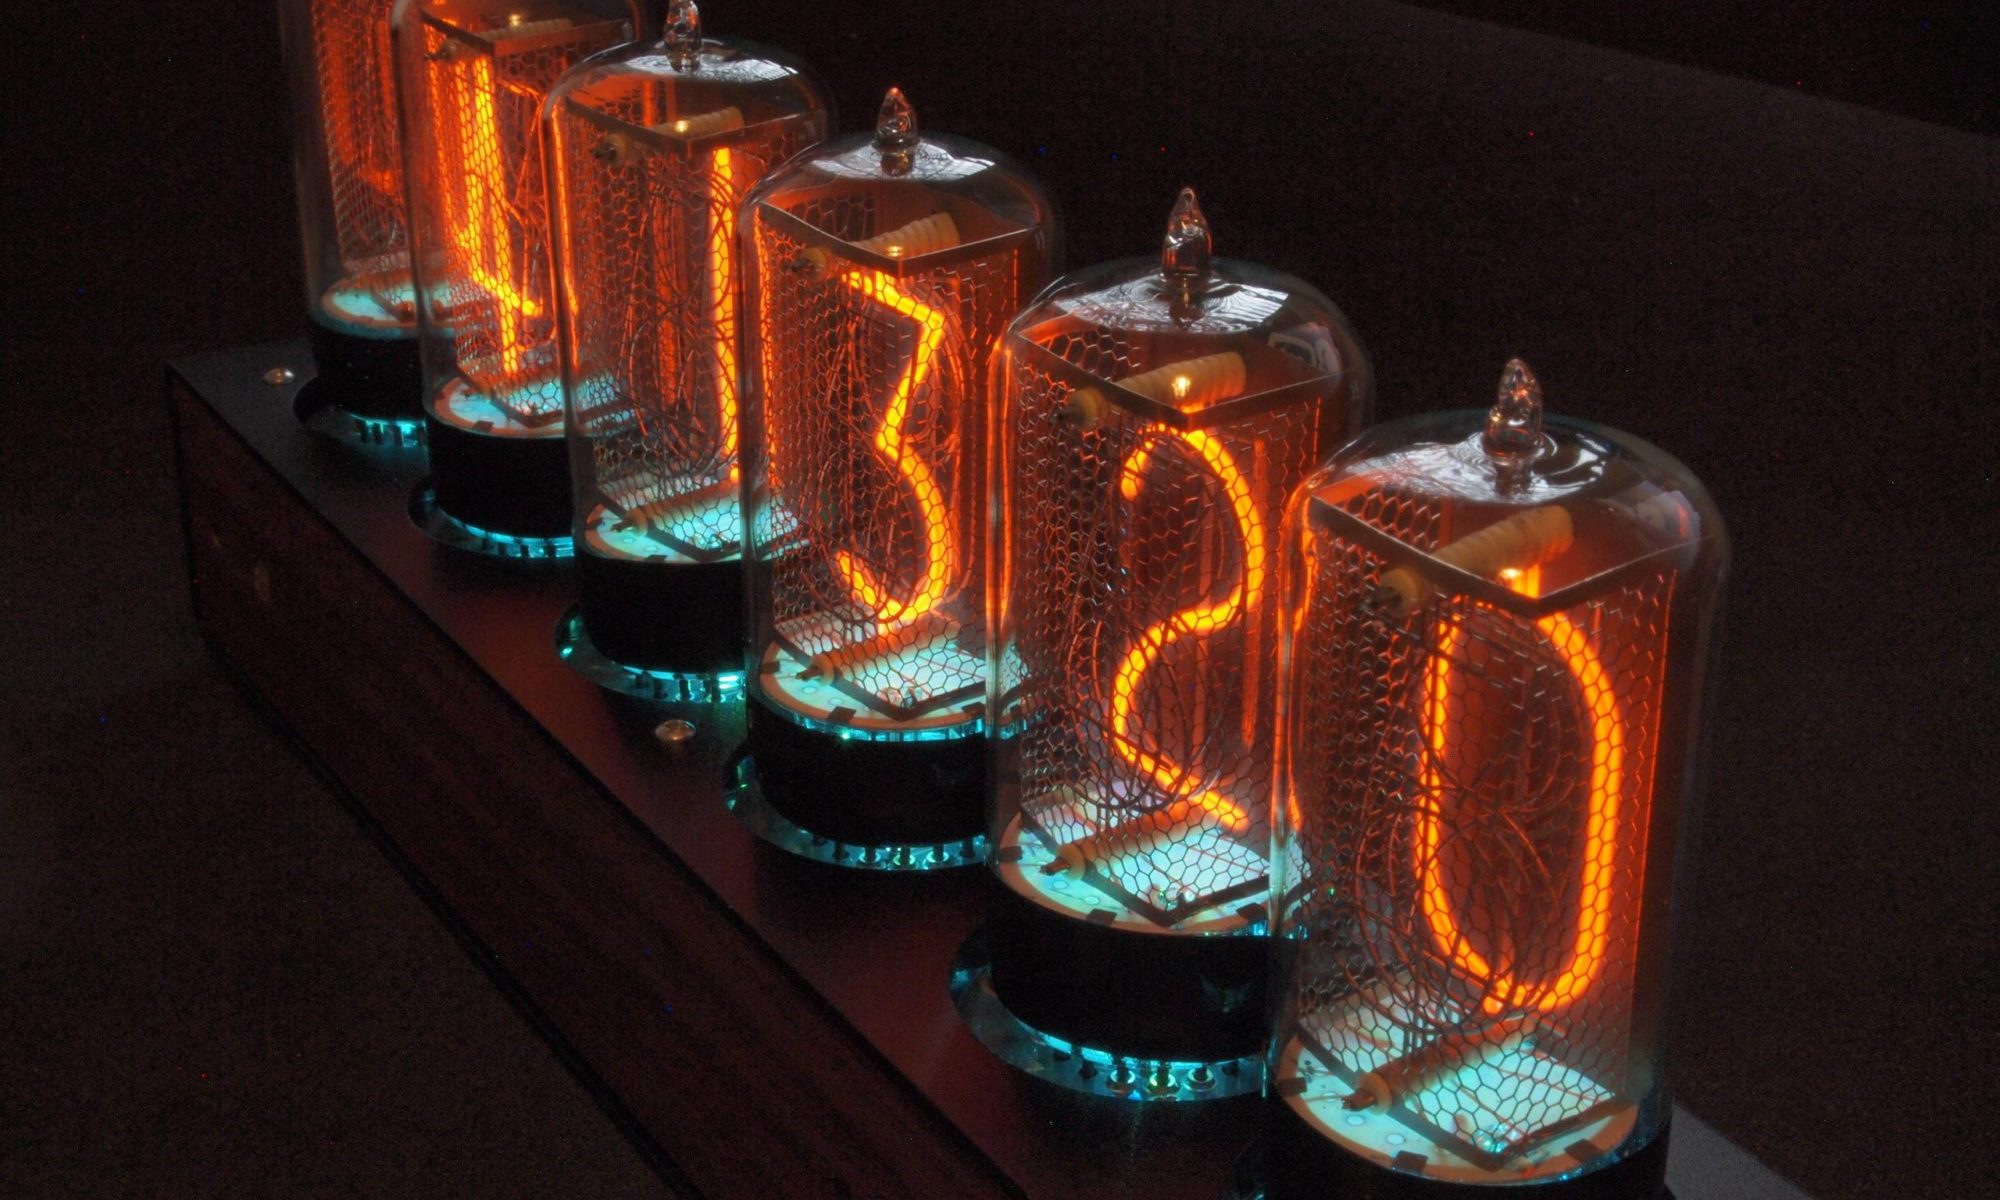

I recently acquired some PCBs for building a Divergence Meter as described on Tom Titor’s site. I’ve been meaning to build one of these for a long time.
I struggled for quite a while trying to figure out how to build the case. I didn’t like the idea of using glue as a structural element, and I thought it ought to be possible to source something other than hex standoffs to form the corner posts. I did manage to find a source for square standoffs – though not in small quantities, but that still left the problem of using glue. Ideally I wanted to use actual screws, but that would have meant tapping some small metal rods. I was getting nowhere, so I went to visit my local model shop and chatted with them about various options. I came away with some styrene sheet, some square plastruct rod and some plastruct angle. I figured I could prototype a case and see if anything came to me. I also bought some steel sheet and some aluminum sheet to see how good the glue approach was.
As I messed around with prototypes, I discovered that #4 screws (such as the screw part of the hex standoffs used on the perfboard) screw into the plastruct rod perfectly, so I went to my local hardware store and picked up the smallest self-tapping screws they had – some #2 – 1/4″ screws, drilled pilot holes in the plastruct rod and tried fixing them to some of the metal sheet I had bought. It gripped really well, so I decided that I would CAD up some parts for a case and get them made at Big Blue Saw.
I also decided that I would support the PCBs on plastic hex standoffs, they needed to be well fixed to the case. 11/16″ standoffs work for the main board, with 10mm standoffs between the main board and the display board. For the screws that screw into the bottom of the plastruct rod, I used #4-40X1/8. I have node idea where I bought them – I can’t find them in my ebay, DigiKey or Mouser orders. They need to be short to clear the self-tapping screws.
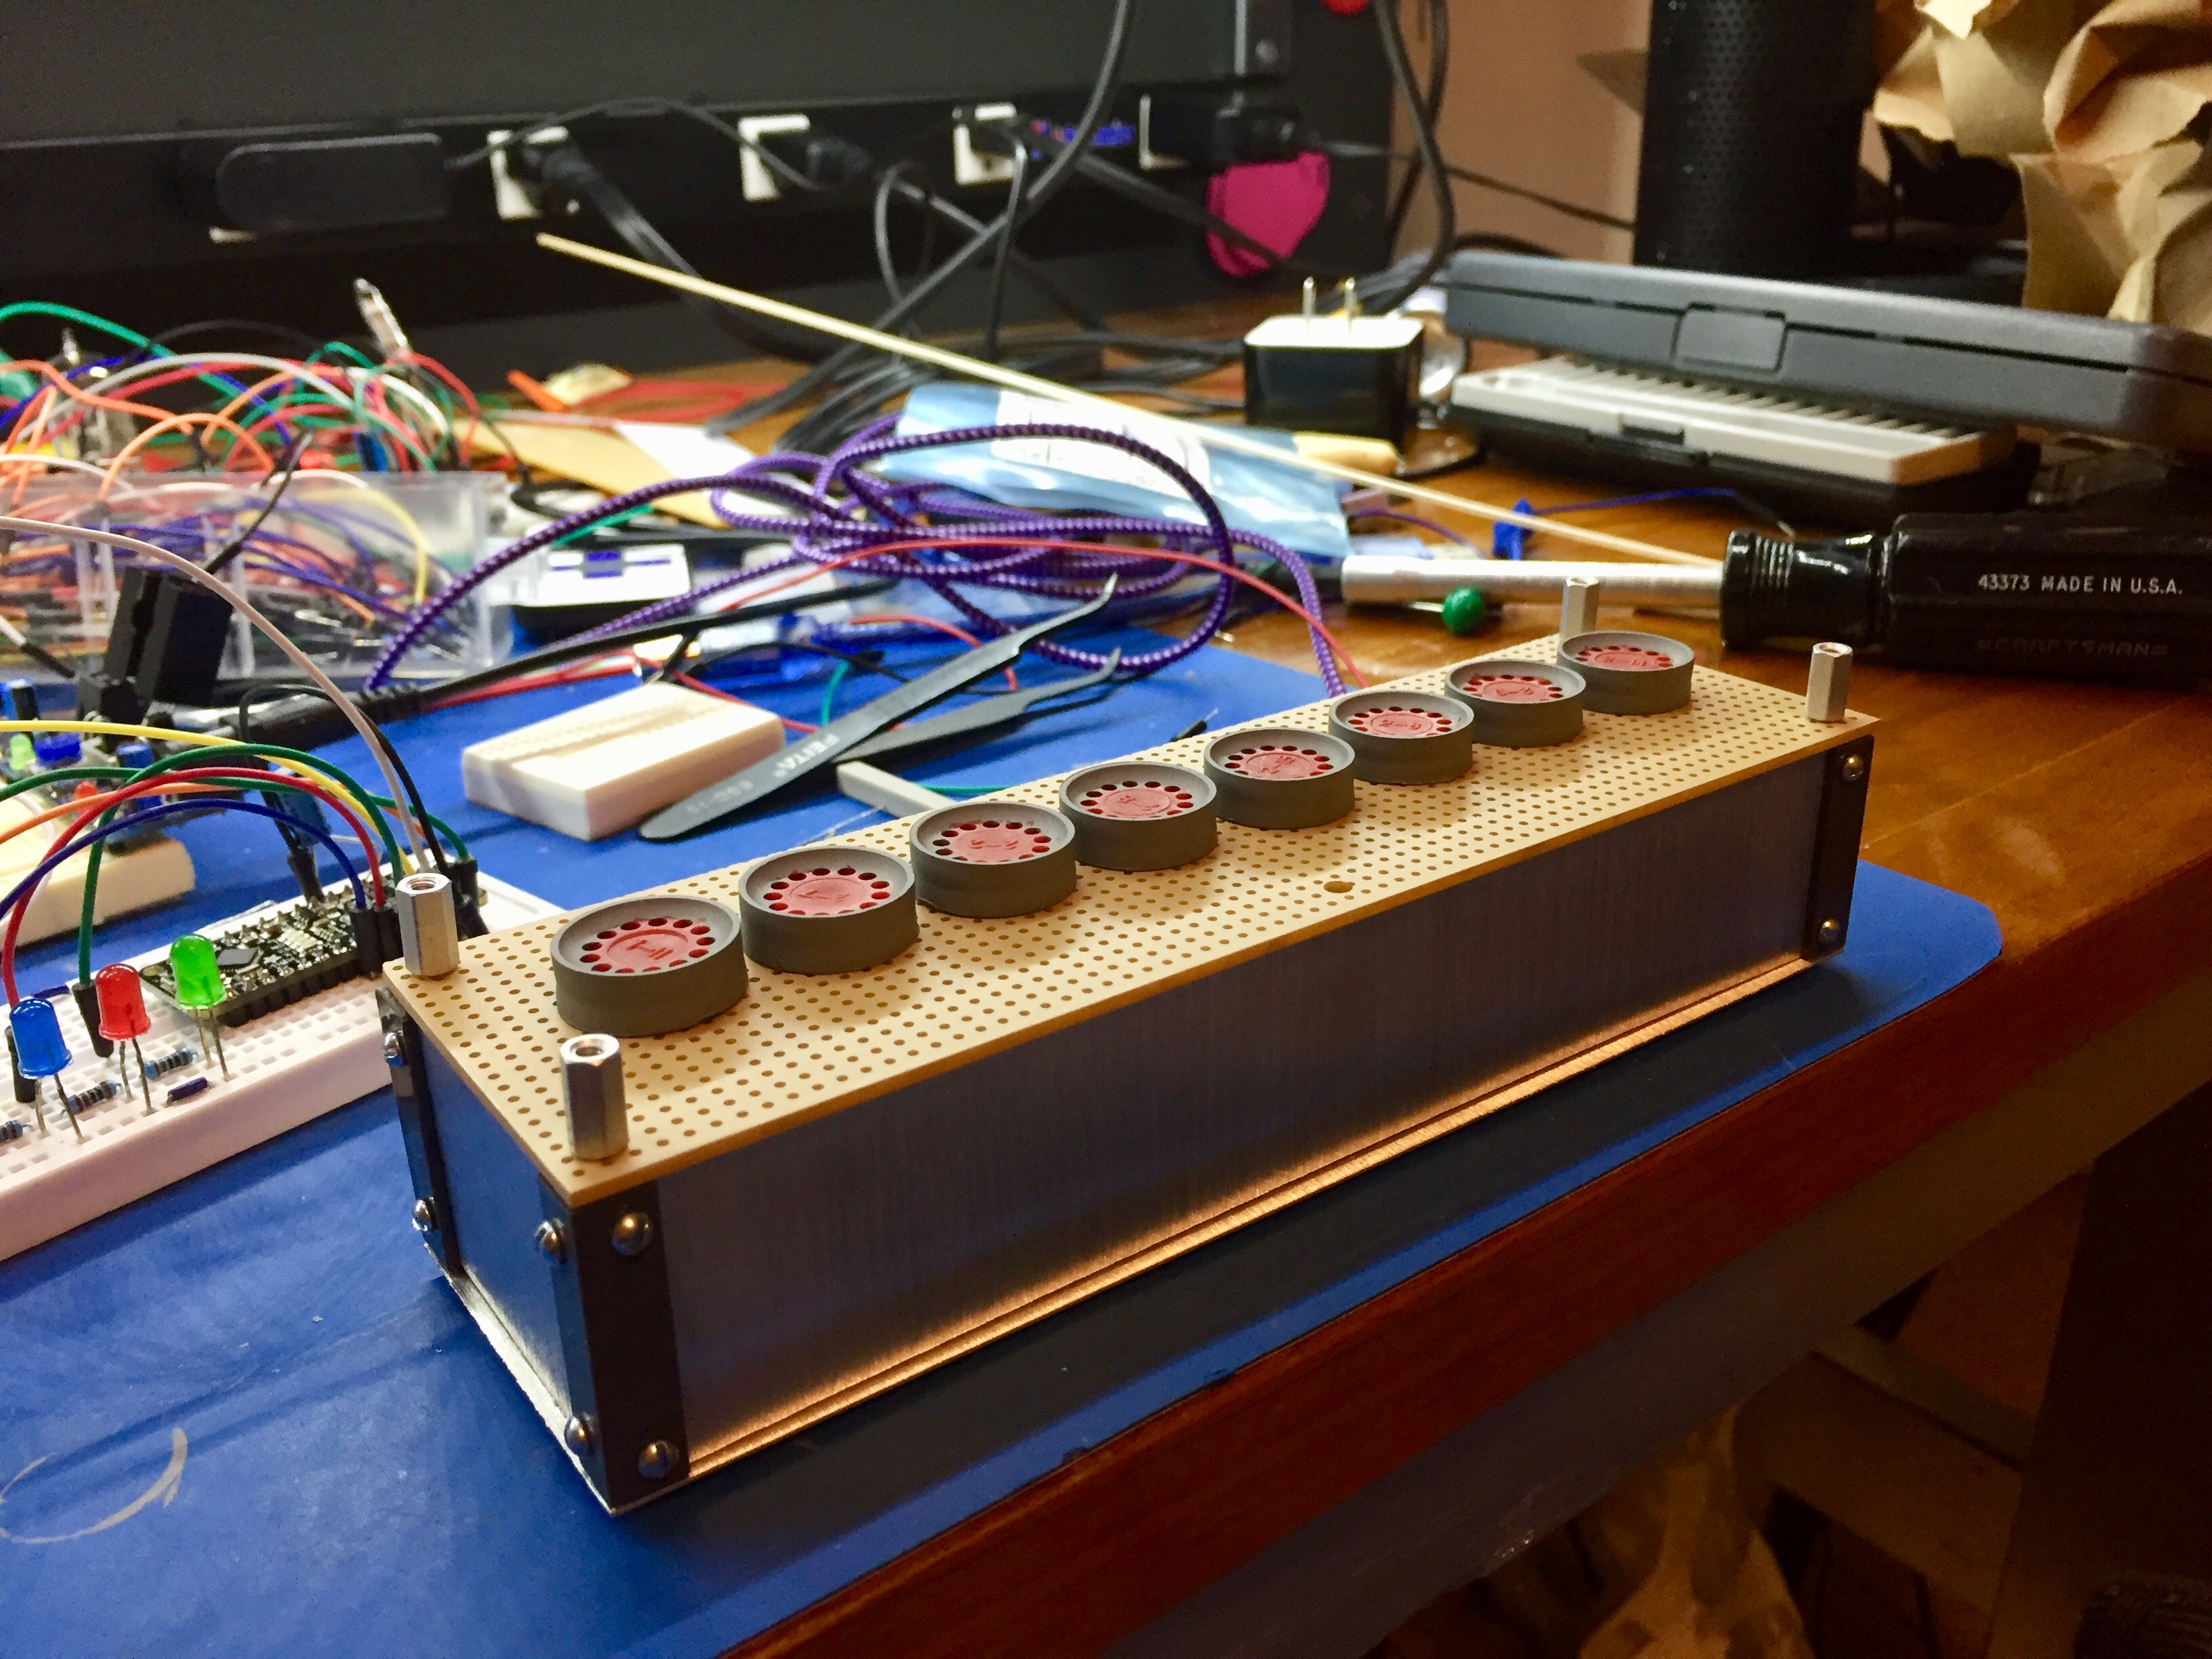
I have just finished putting together a case using the parts made by Big Blue Saw, and it works great. I had 10 sets made as each set is then a lot cheaper, so I have many left over I currently have two left that I would be willing to sell for $59 + shipping.
The following pictures show the case in various stages of construction. This first one shows the plastruct rods and angles. The pilot holes in the rods are 1/16″, the holes in the angle are 7/64″, and not shown – but the holes for the hex standoffs in the perfboard are at least 1/8″.
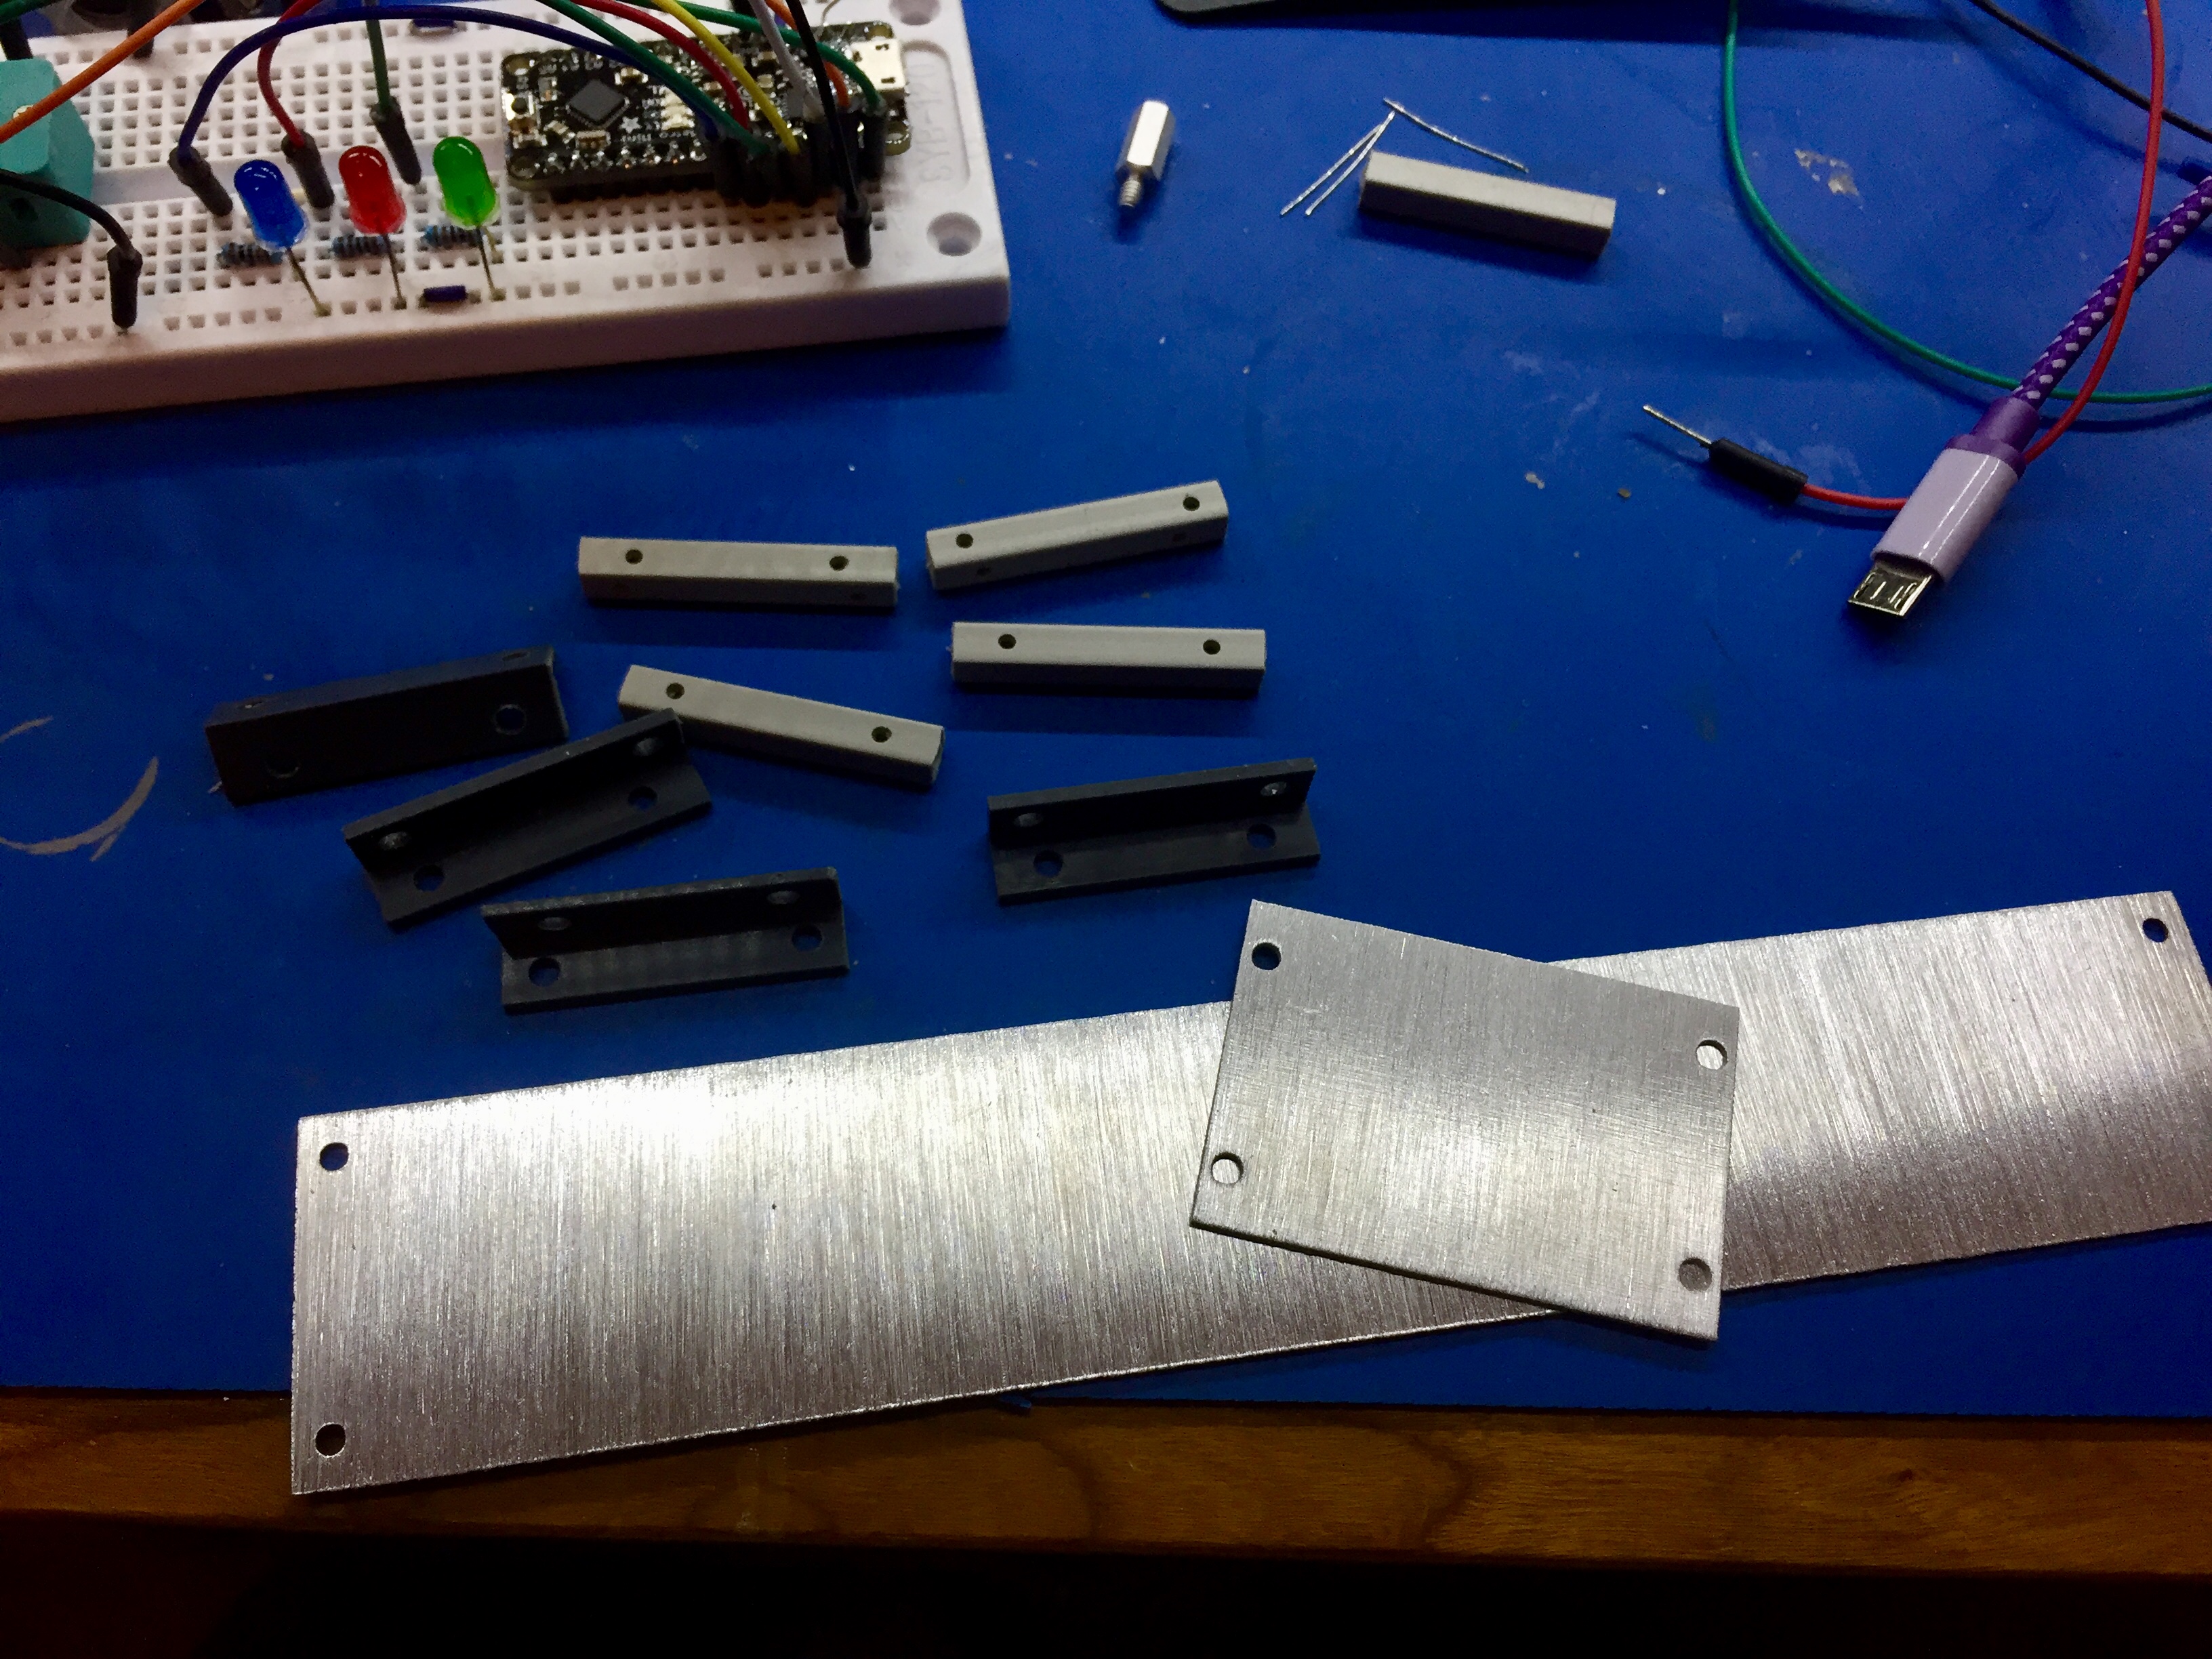
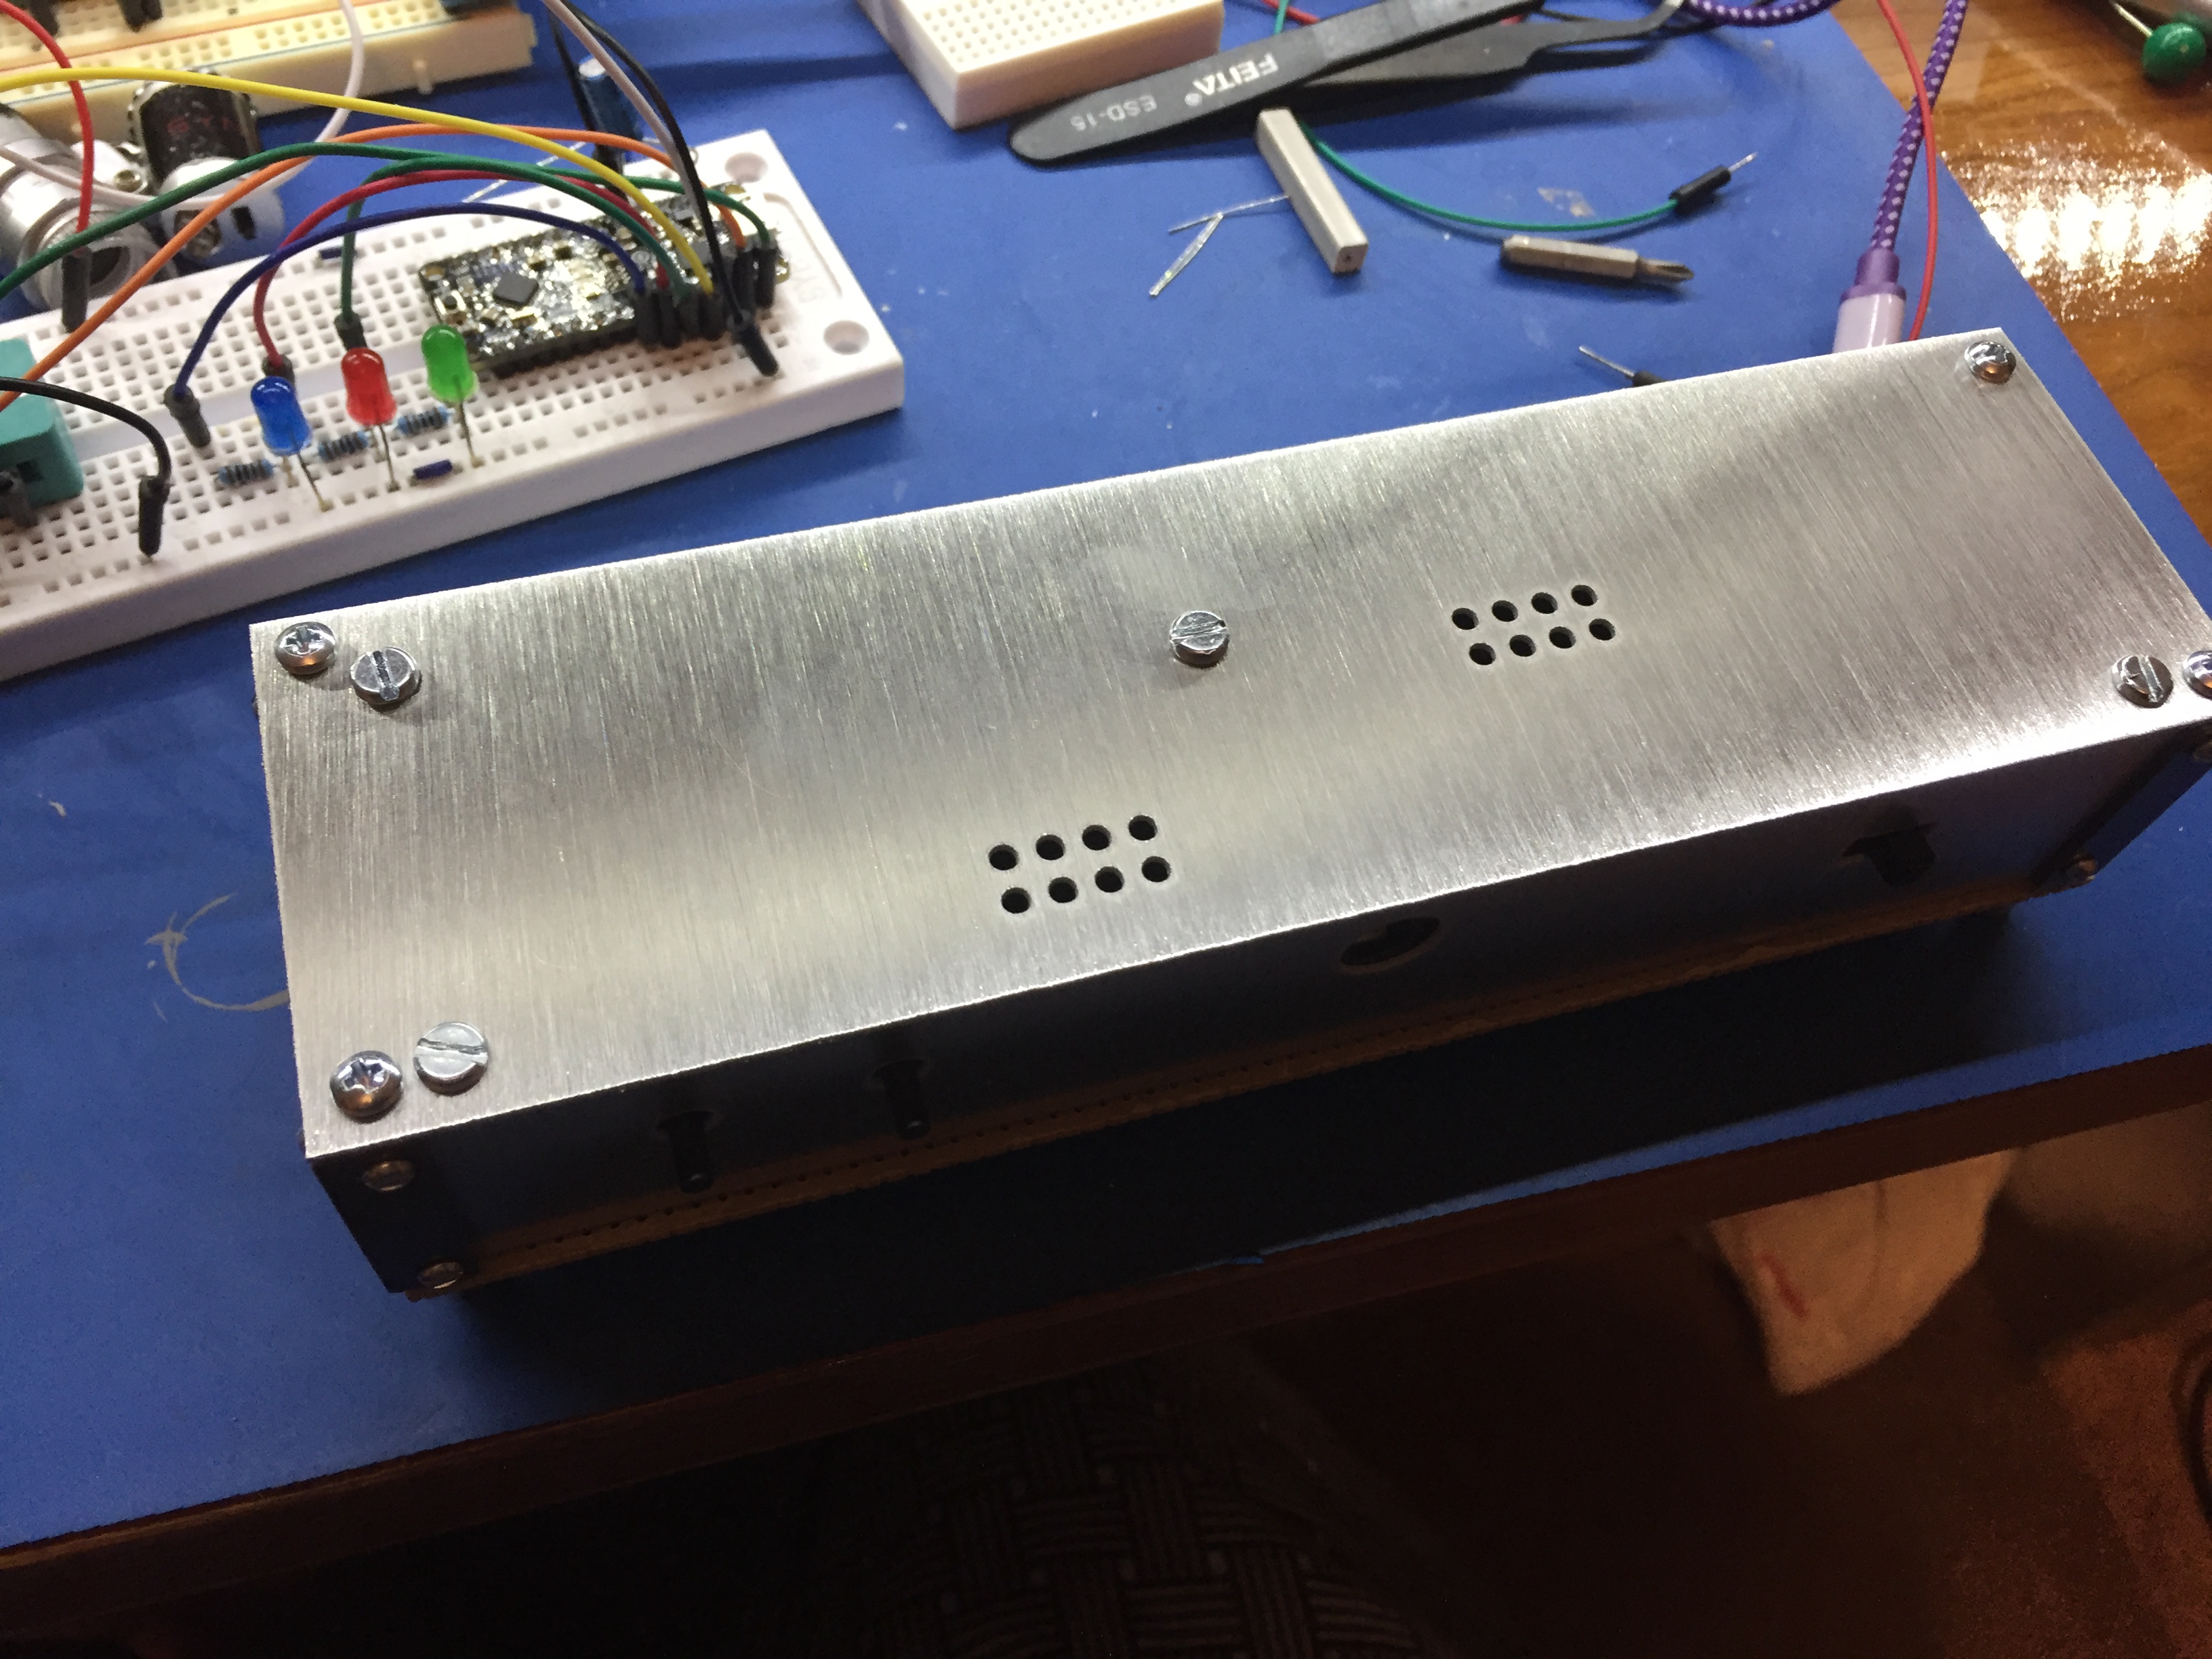
Big Blue Saw offer several finishes. The one below is raw. The edges are very rough, and there are marks left over from the water cutter, so I ordered the rest in basic finish instead.
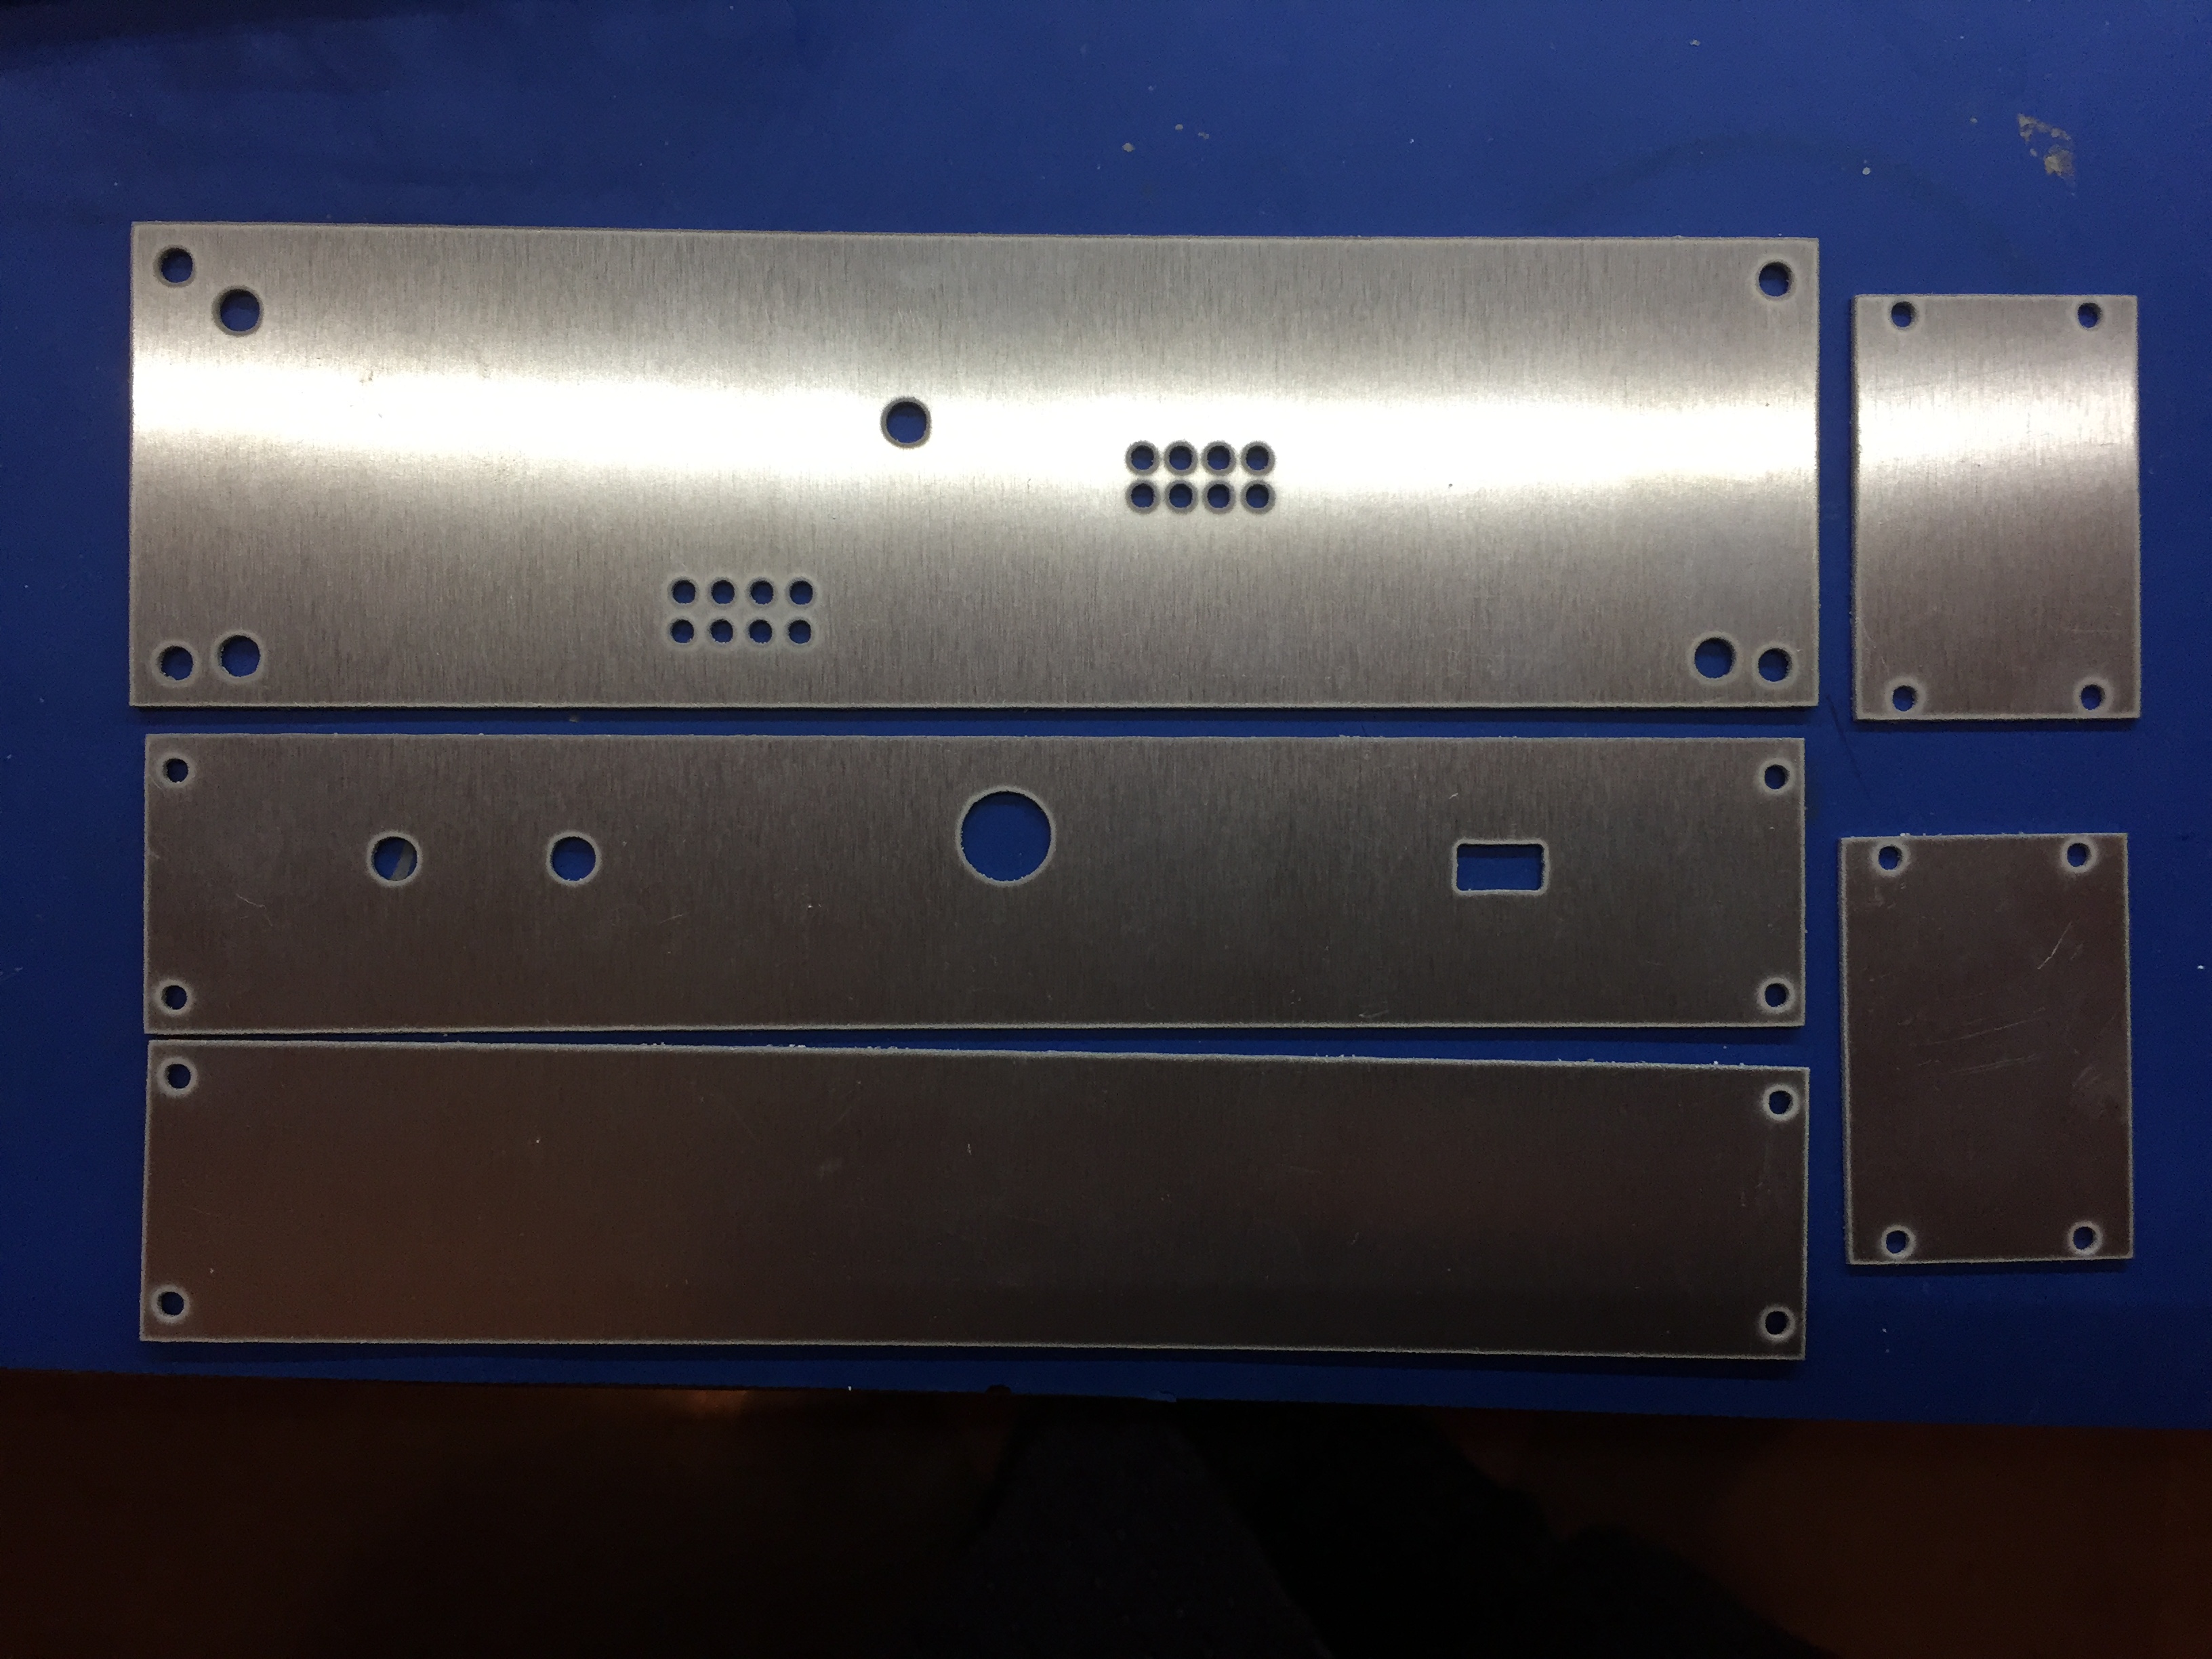
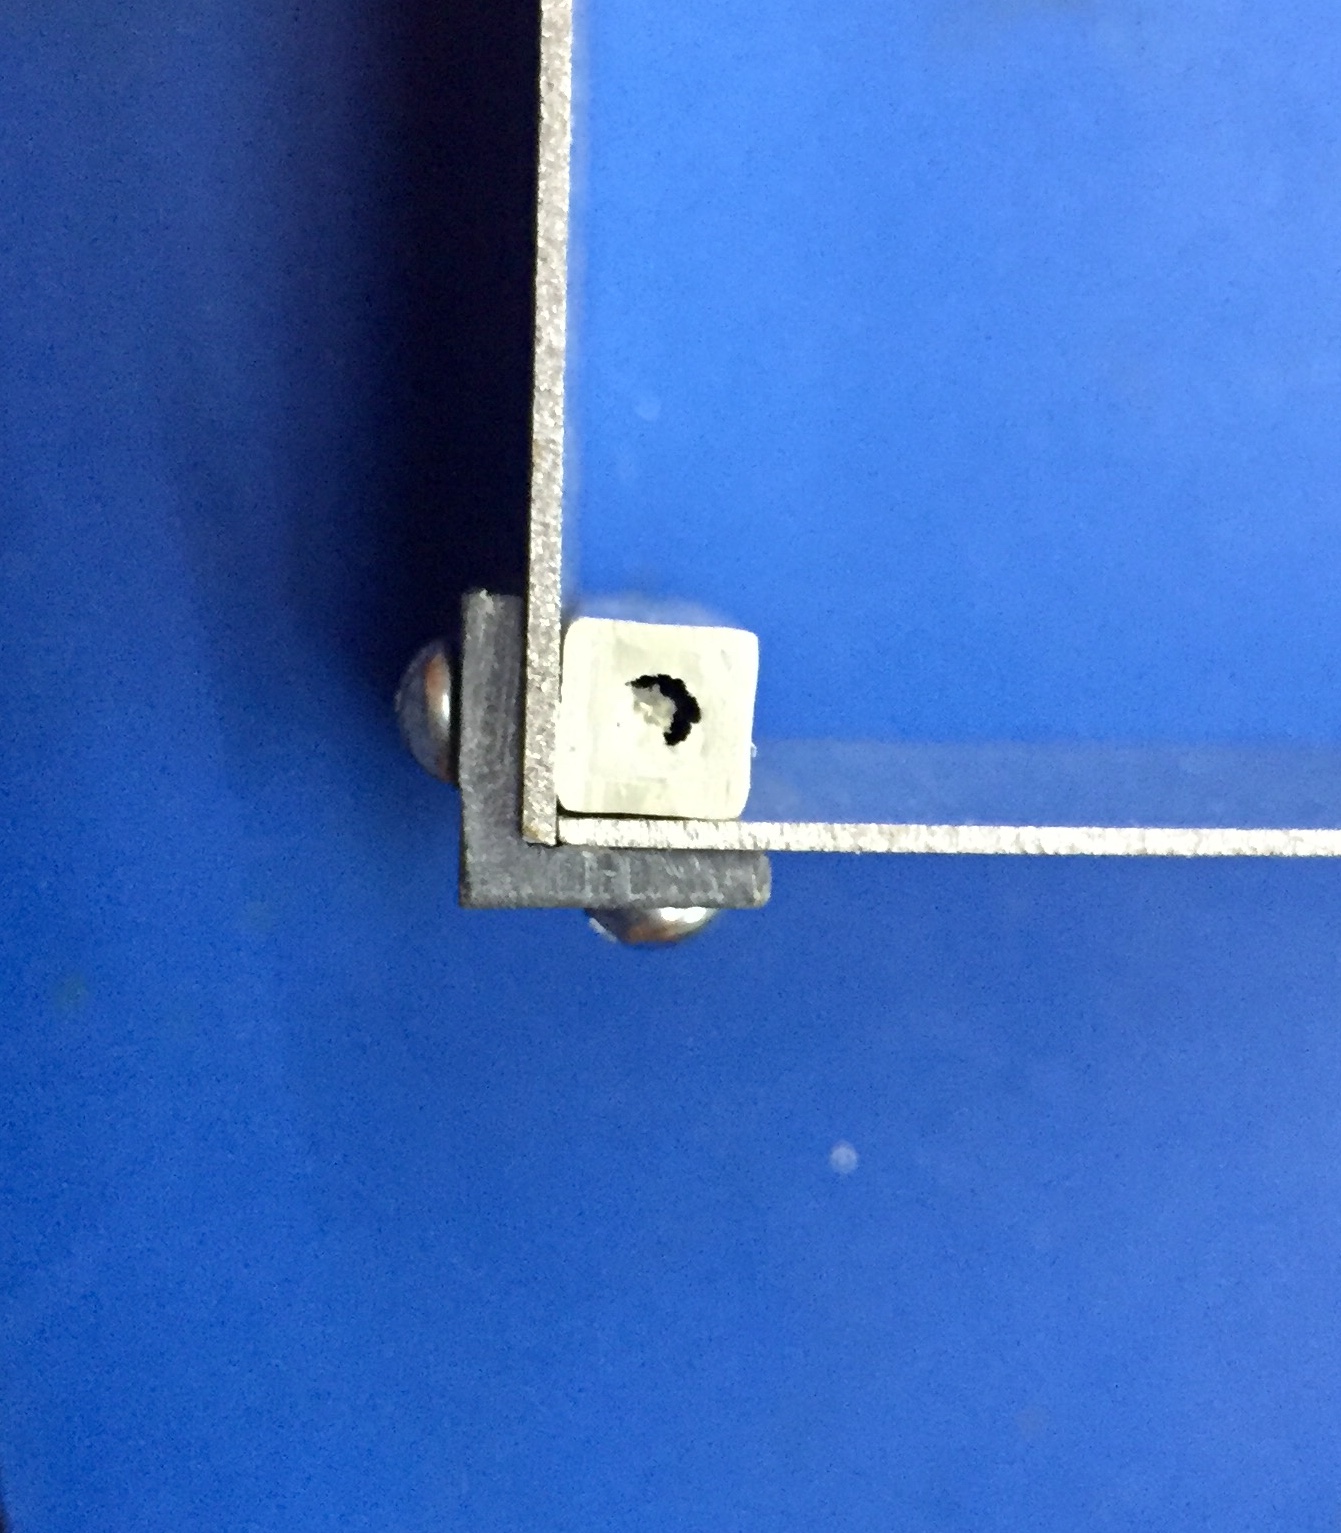
In the photograph below, I have yet to paint the plastruct angle – I was just checking that everything went together.
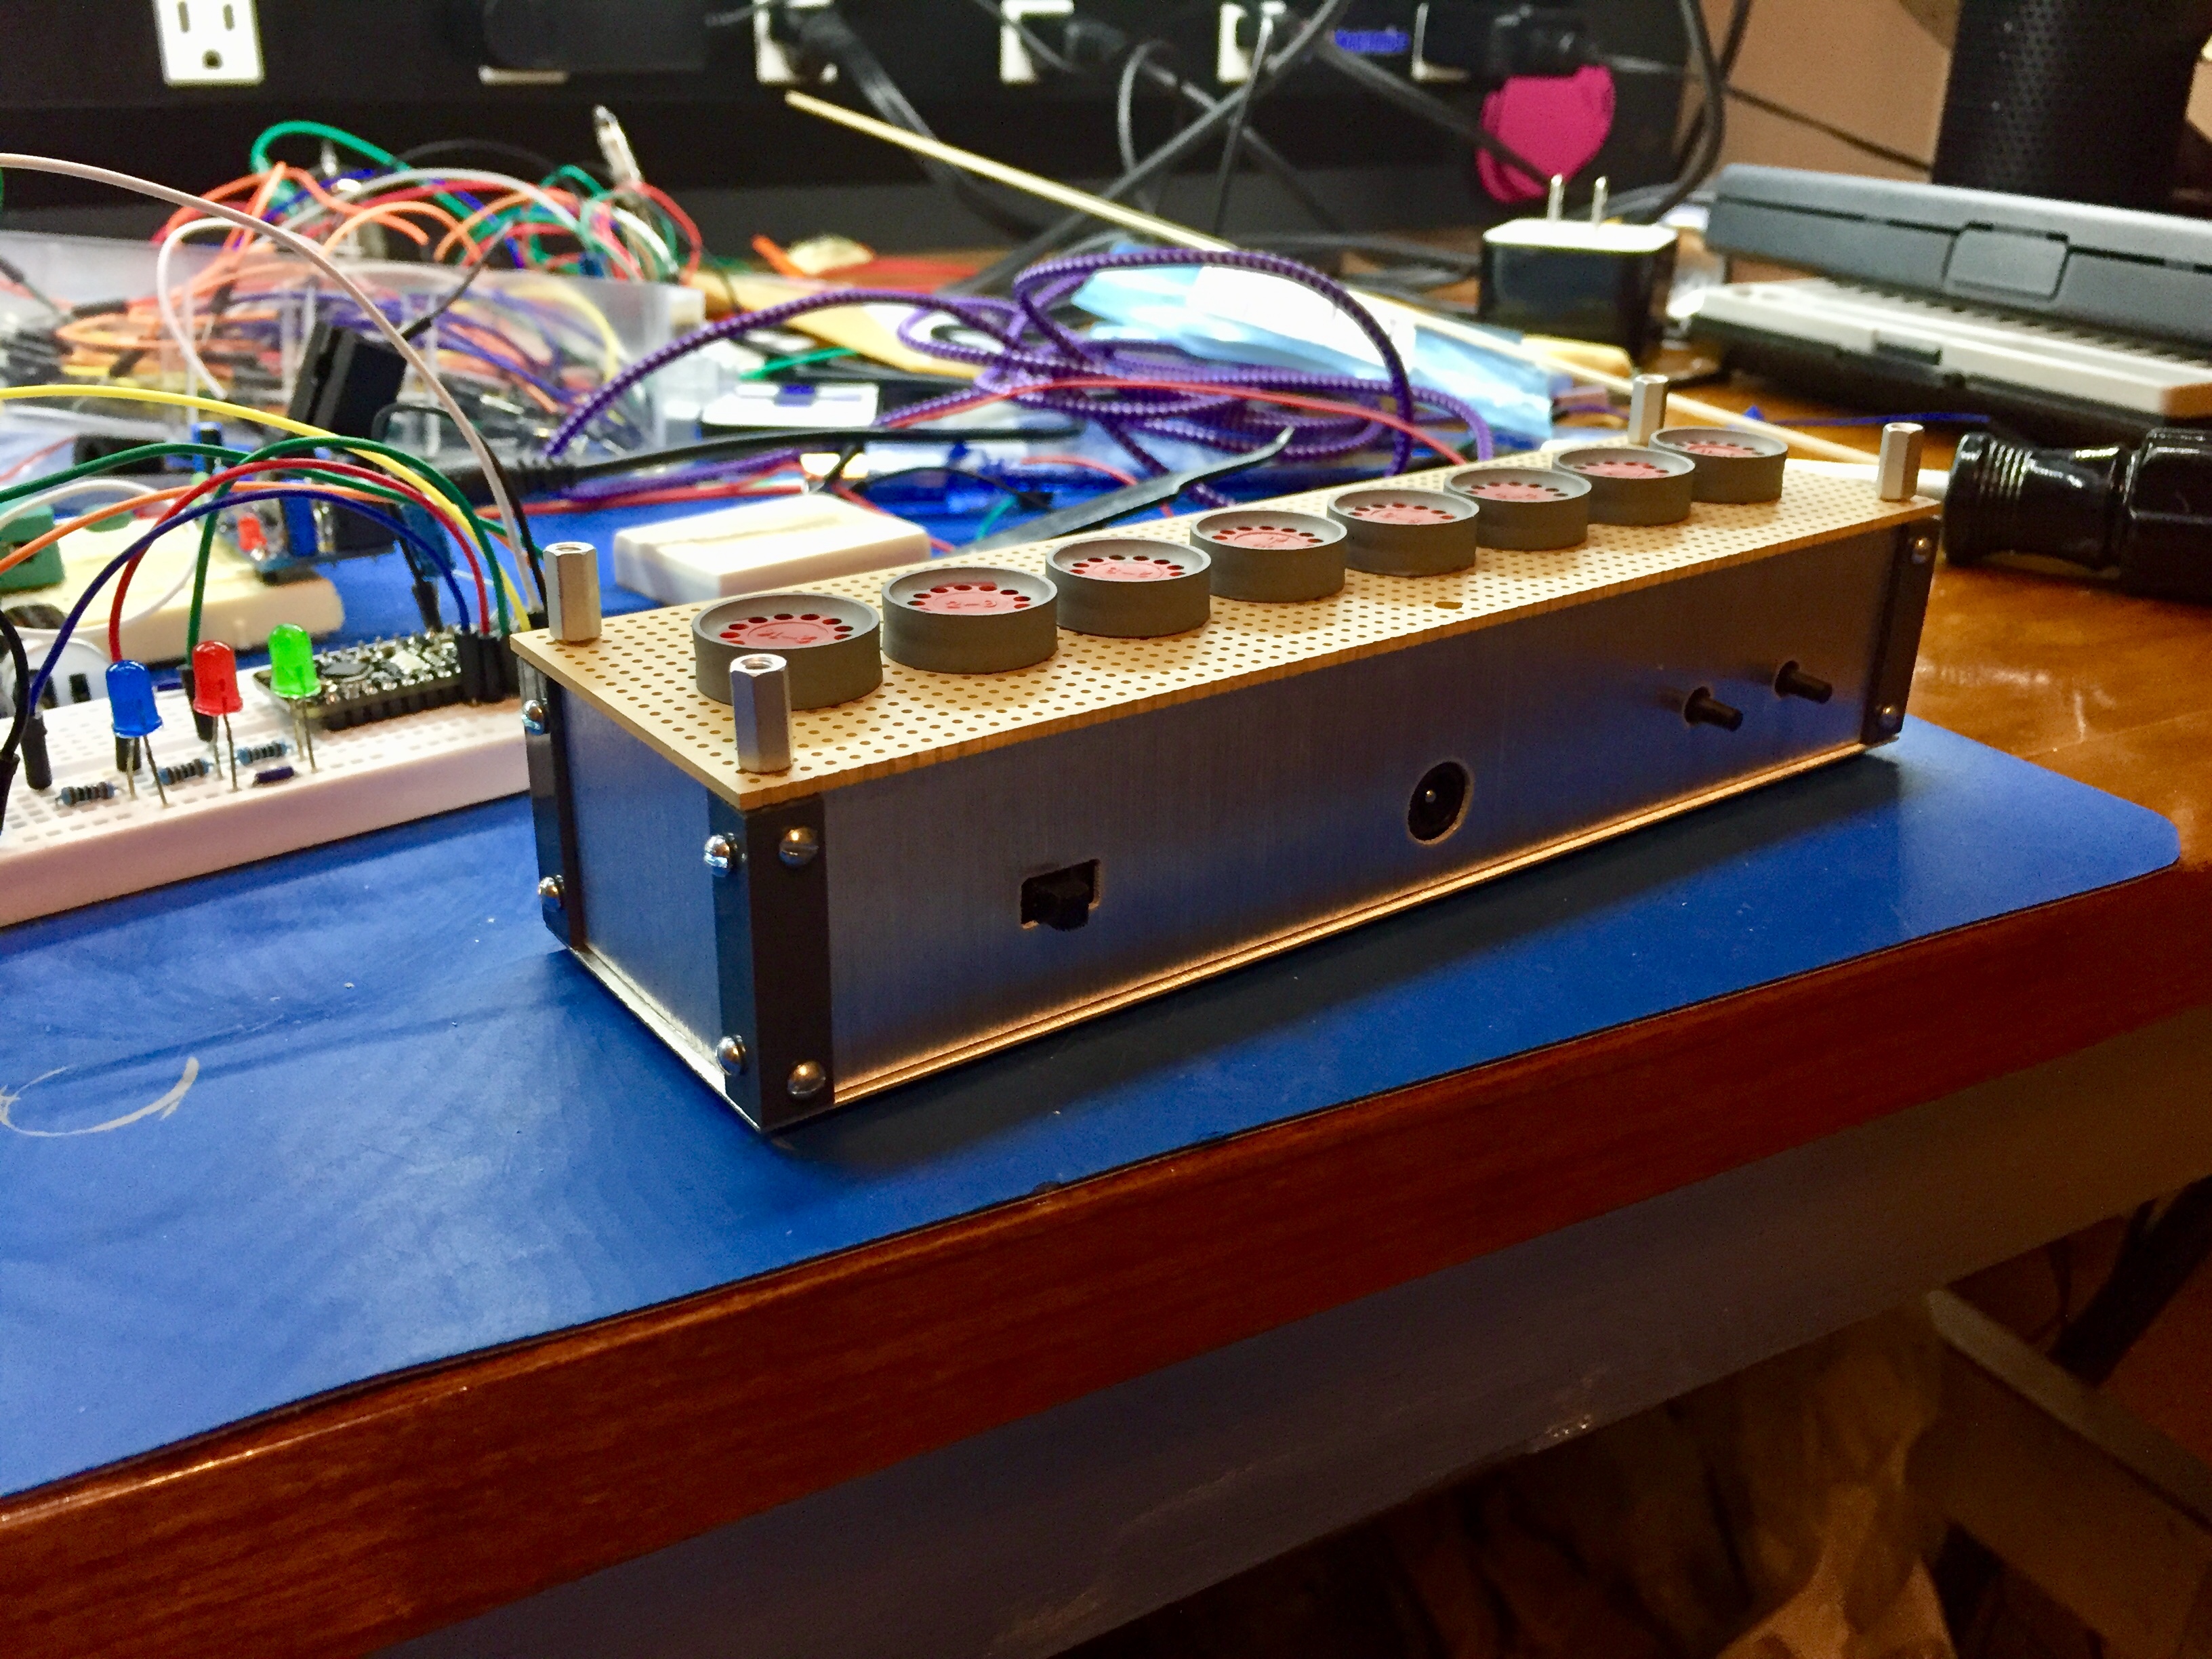
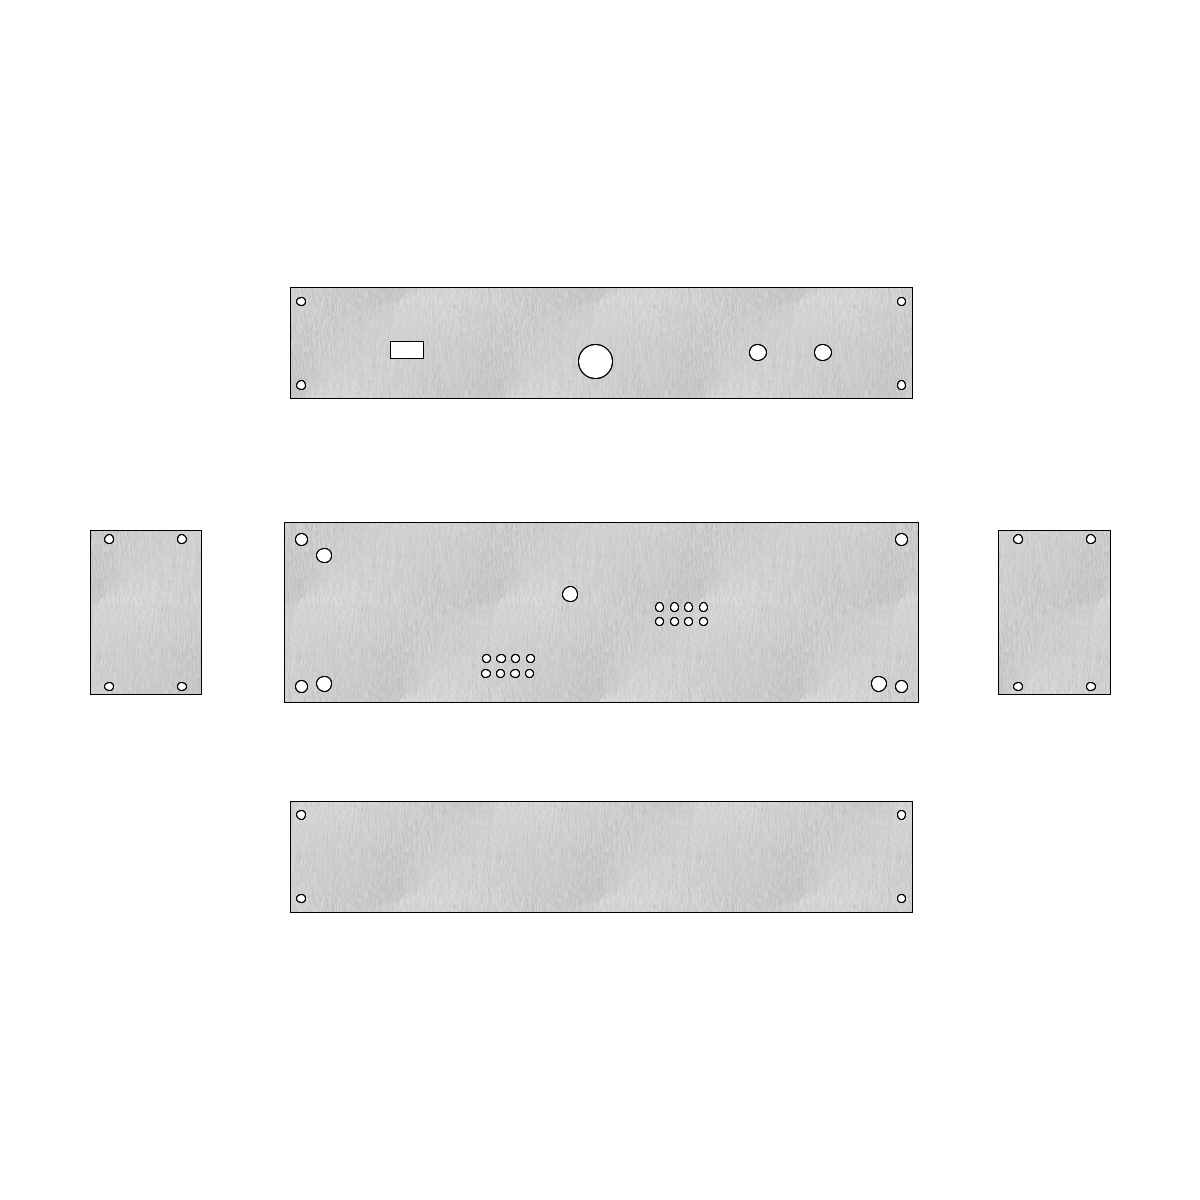
The stencil that Tom provides is slightly different for this case. The holes for the hex standoffs are back where they were with his build #1. In the PDF below I also show cutouts for the tubes with a diameter of 14mm. This is a standard size for things like Forstner bits and it gives you some room for error in drilling these holes!
Perfboard Stencil