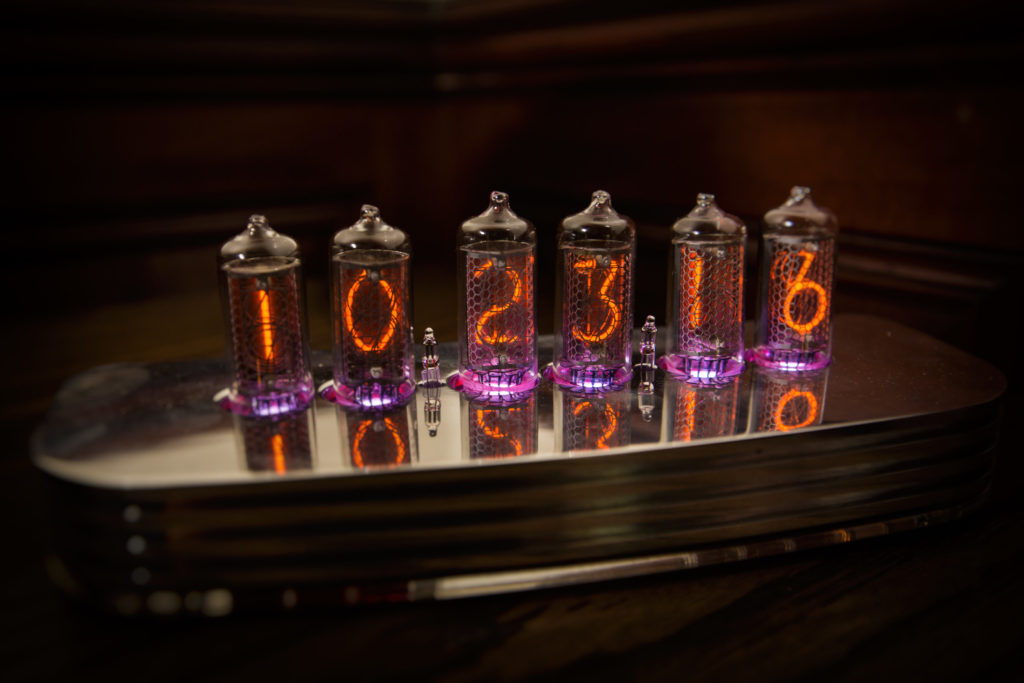
I don’t know when I first saw a Nixie clock, but I remember thinking they were really nice, but very expensive. About a year ago I came across them again and they suddenly seemed much more reasonable. Perhaps there were more options – more clocks using smaller, more reasonably priced tubes. Anyway, I ended up buying a kit from PV Electronics, and so my obsession was born! Here it is, a QTC clock using IN-8-2 tubes.
As I got used to my first clock, I remember thinking that the usability of the button-driven menu could be improved, principally by adding a web server to the clock so that I could develop a slick user-interface. I googled around and found the particle photon. Now I just needed a more open Nixie clock platform so that I could wire it all together. It seemed that an Arduino based clock would be the most likely to provide what I needed, and I came across Ian Sparks’ kits. Sadly (for me), he had already had the same idea, and he used the wonderful ESP01 wifi card to provide the interface and the time keeping. I learn’t a lot from this kit.
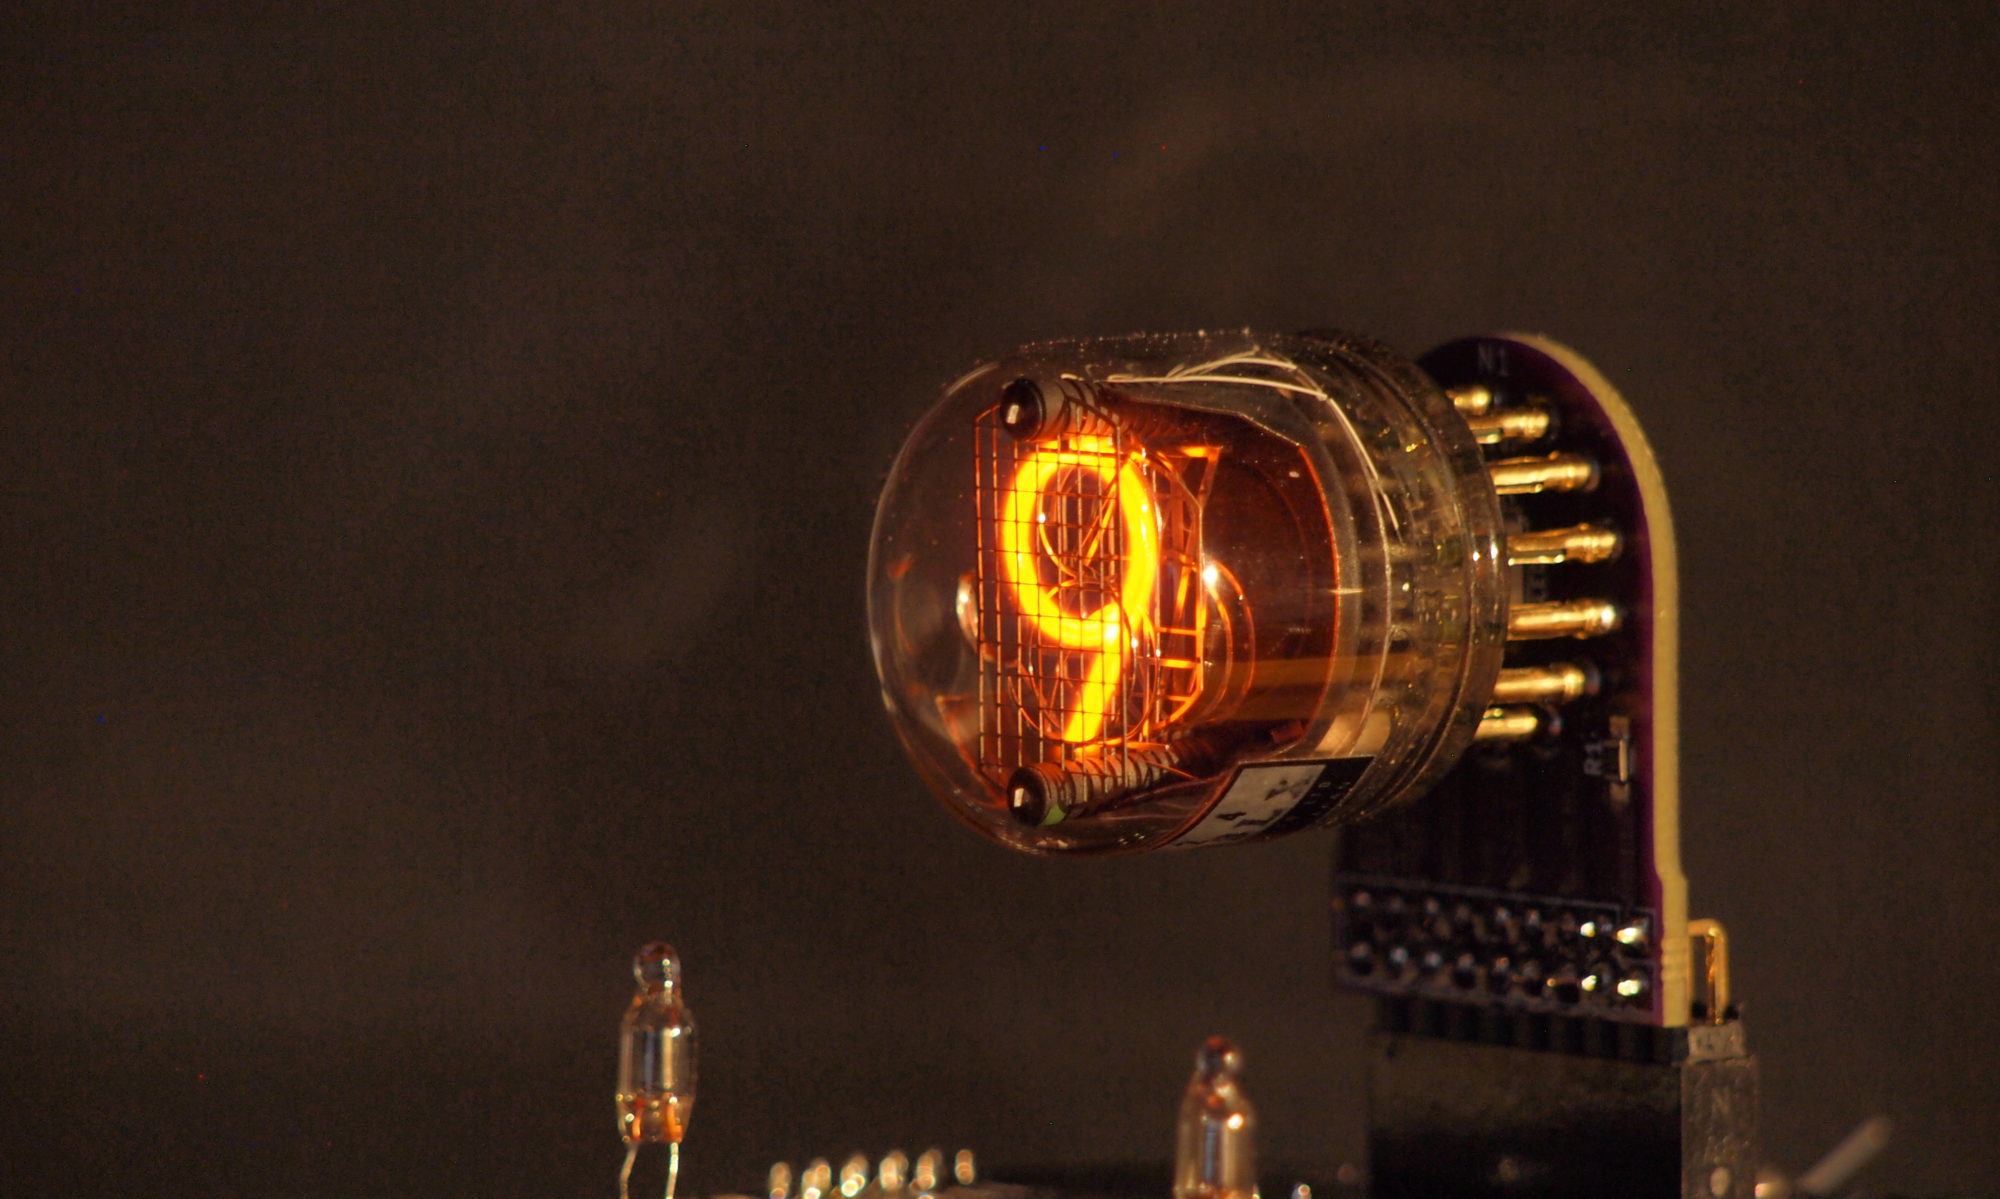
Slightly after I put this together I came across the NCS-314. This was an actual Arduino shield, and I thought it looked great! I bought one and set to work re-writing the software and adding an ESP01 interface to it. The header photograph is of that clock. It can even be controlled using Alexa! This is it in an acrylic case I made. I had to learn a CAD program (Solid Edge) and I had it fabbed at Pololu

At this point, I decided I needed to develop my own complete hardware and software. I am a professional software engineer, so the latter part is easy enough for me. However, my electronics experience was limited to soldering kits. One year and a bunch of prototypes later, I am just about at the point where I can make my first complete set of hardware.